Categories
Three helpful hints for keeping your sublimation textile designs looking sharp and vivid
Sublimation is a stroll in the park when compared to other textile printing technologies, but there are a few stumbling blocks to overcome... Fortunately, they're typically easy to recognize and fix — here are our top three to look out for!
Nov 10th,2021
1132 Views
It's no secret that sublimation printing is one of the most rapidly expanding segments of the textile printing industry. When you think about it, it's easy to see why. Who doesn't adore rich, brilliant hues, especially when they're so simple to achieve?
Sublimation is a stroll in the park when compared to other textile printing technologies, but there are a few stumbling blocks to overcome... Fortunately, they're typically easy to recognize and fix — here are our top three to look out for!
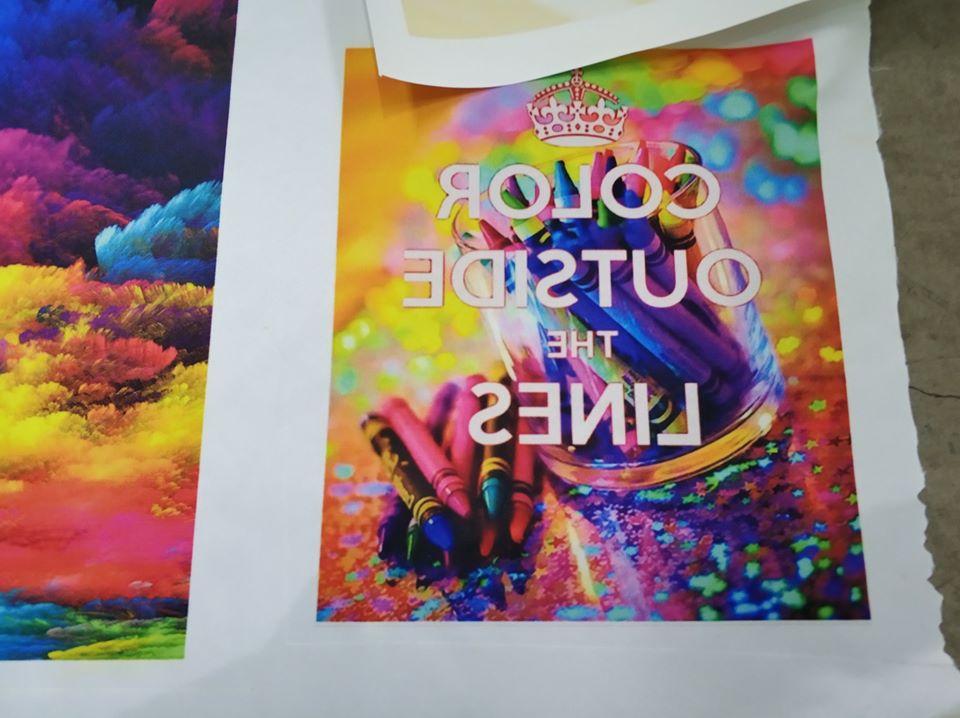
1. Ghosting
It's a faint picture that appears around or beside the primary image you're printing. It's mainly caused by the sublimation paper shifting during the printing process, but it can also happen if the heat used in sublimation causes your cloth to shrink. Thankfully, there are two things you can simply solve!
How to fix it:
During the printing process, make sure your sublimation paper does not move. The dye will begin to react as soon as you start applying heat to it, so it's critical that you keep it in one area. You can always use some heat-proof tape to keep things under control if you're using a flatbed heat press. When it's time to remove the print from the heat press, you'll need to be extra cautious... Separate the sublimation paper from the cloth as soon as possible, being careful not to burn your fingers!
If it turns out that fabric shrinkage is the source of the problem, the answer is usually to 'pre-shrink' the cloth. Allow it to heat press without the sublimation paper to allow the fibers to retreat before adding your design. That way, when you add your sublimation paper the second time, there will be no shrinking and you will get very sharp results!
2. Head strikes
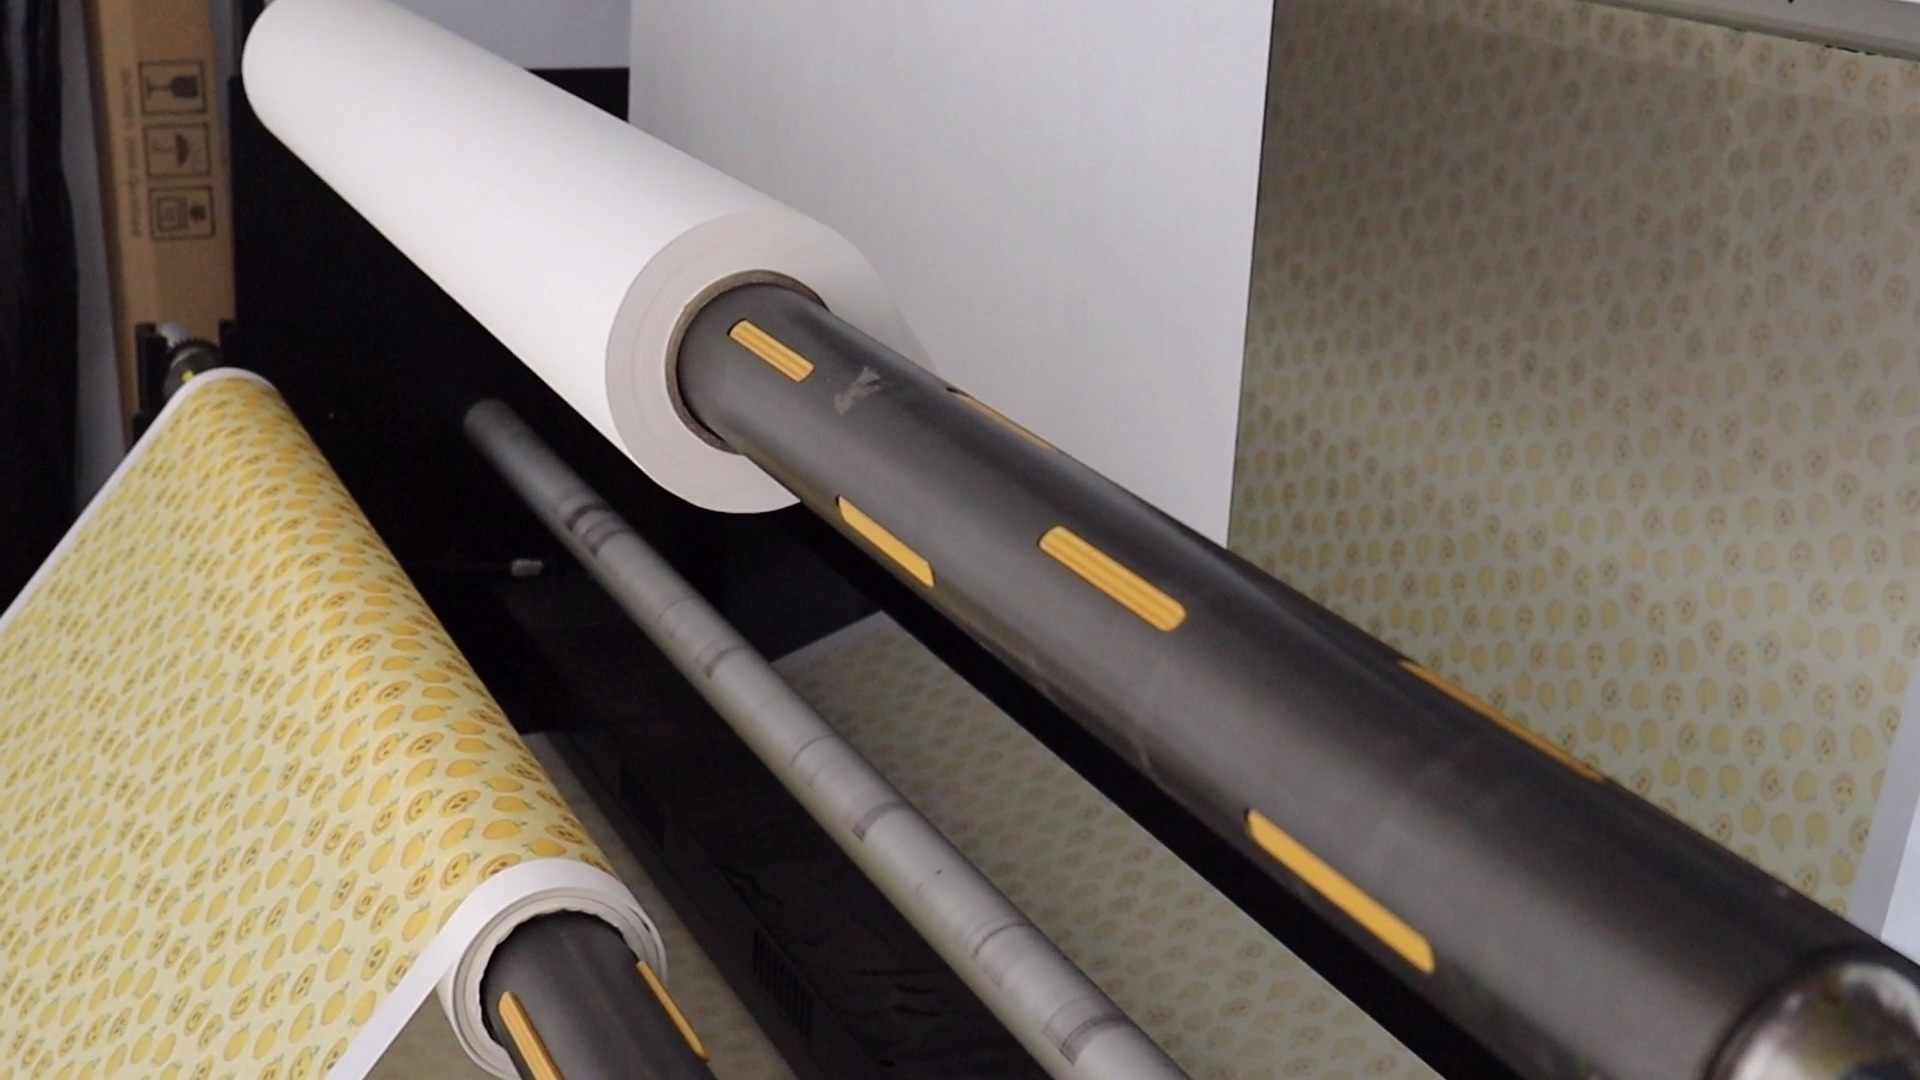
As you print the nozzle check to see what damage you've done, you'll notice a scuffed substrate and a sense of dread. You may not only have a print head failure, but you may also have an unusable print. The paper transfer method is used by the majority of sublimation printing, which is fantastic! It provides a number of benefits to the user, including an easier-to-use printer, crisper prints, and the flexibility to print numerous jobs on a single roll – even if they will eventually be used on different fabrics. Paper's disadvantage is that it functions as a large sponge, absorbing all of the moisture in the air, which might cause issues. Paper can grow and shrink its size in a quickly changing environment. When it's clamped into a machine and put under pressure, it can 'bubble,' causing the elevated paper to come into contact with the print head, which isn't ideal.
How to fix it:
The simplest method to avoid this is to store your printer and paper in a secure location. Make sure your print room's temperature and humidity don't change too much or exceed the maximum acceptable conditions. If you're not inside the suggested boundaries, this might be the source of your difficulties.
You shouldn't expect to be able to transport paper from a very cold, damp warehouse to a moderate print studio without encountering problems. If you don't have an option but to keep the paper somewhere else, bring it into the print room before you replace the roll to give it time to climatize. Any form adjustments may be done ahead of time when the paper isn't under stress.
Also, keep an eye on the amount of sublimation ink you're using. If your paper is oversaturated, consider switching to a larger weight or re-profiling entirely. After all, oversaturation causes more harm than good; you want to run at optimal ink levels for the best outcomes (whilst also saving yourself money, avoiding wasted ink).
3. Banding
Ah, banding, a printer's sworn foe. Modern sublimation printers, thankfully, have some incredible built-in technologies to assist in battling undesirable stripey prints, but they do happen from time to time.
Banding is one of the most commonly reported defects, but it may be difficult to diagnose since it can be caused by a variety of factors. Everything from clogged print nozzles to improper profiling might be blamed. Fortunately, I also have a few tricks on my sleeve to help you keep it at away...
How to fix it:
First and foremost, doing a nozzle check before every print run is a smart idea. It's astonishing how many people configure their printers to execute a 50m run without first verifying that all of the nozzles are firing properly! If your nozzles are blocked, you won't be able to use ink, and you'll wind up with unsightly white lines all over your artwork. Take the time to check for any missing items and clean them up. Remember to double-check the clean when it's finished to ensure it did the job!
But what if all of your nozzles are firing but you're still experiencing dropout? It's possible that this is due to the profile you're using. Let's imagine you're printing a design with a solid color backdrop, which necessitates the machine laying down a lot of ink. If you don't give the printer enough time to fire and replace all of the ink necessary, you'll 'starve' the heads of ink! If the heads are starving for ink, there will be no ink left to lay down, resulting in white or faded banding. This can have a serious negative and destructive effect on your print heads, so be careful not to overwork your equipment! Choose a profile and speed that is appropriate for the patterns you are printing; if the heads are starving, increase the number of 'passes' the machine does - this will immediately slow it down!
Subtextile Co. Ltd.
Address:699-18 Xuanwu Avenue, Nanjing City, China, 210000
Tel |Fax:+86 25 85416407 (GLOBAL)
Cell:+86 17798509616
Whatsapp:0086 17798509616
E-mail:info@subtextile.com


